Deck Board Replacement: Easier Than You Think
A single rotted or cracked deck board is an eyesore and a trip hazard — but replacing it doesn’t require rebuilding the whole deck. With the right tools and a methodical approach, you can swap out damaged boards in an afternoon and have your deck looking great again.
Assessing the Damage First
Before removing any boards, probe the joists below with a screwdriver at the fastener locations. If the screwdriver penetrates the wood easily, the joists are rotting and need attention before you lay new decking. Replace joists first; new decking on rotten structure is just cosmetic. If joists are solid, proceed with board replacement.
Tools You’ll Need
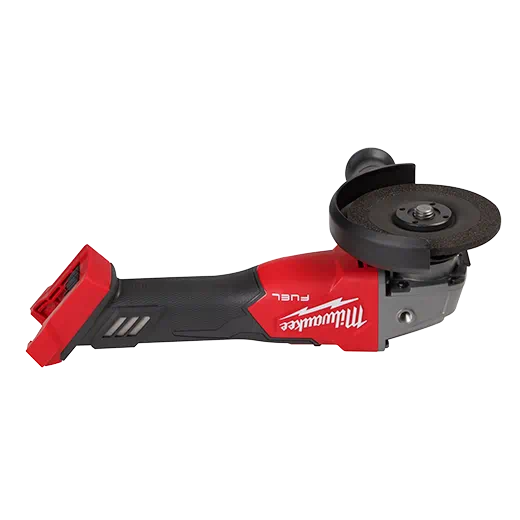
- Oscillating multi-tool (DeWALT DCS356 or Milwaukee M18 FUEL) for cutting fasteners flush
- Pry bar or deck board removal tool (Cepco BoWrench or similar)
- Circular saw for crosscutting the damaged board if full removal isn’t possible
- Drill/driver and impact driver
- Exterior deck screws — #10 x 3 inch stainless or coated (Starborn CORTEX or GRK RSS recommended)
- Replacement board of matching species and dimensions
- Speed square and tape measure
Step 1: Remove the Damaged Board
Use the oscillating multi-tool to cut through any screws or nails at the joist connection — plunge the blade straight down between board and joist and cut the fastener. Once fasteners are cut, pry the board up from one end. For nailed boards, a cat’s paw nail puller works well to pop nail heads before prying. Avoid heavy prying that might split adjacent boards or crack joist edges.
Step 2: Clean Up the Joists
Remove any remaining fastener stubs from the joist tops with a reciprocating saw or oscillating tool. Sand rough edges on adjacent boards. Check joist tops for moisture damage and treat with a wood hardener (Minwax or similar) on any soft spots before proceeding.
Step 3: Cut and Fit the New Board
Measure the opening carefully, accounting for a 1/8-inch expansion gap at each end and at board edges if adjacent to another board. Pressure-treated boards expand and contract — never butt them tightly. Cut to length with your circular saw. For composite decking, use a fine-tooth blade (80T) to prevent chipping.
Step 4: Fasten the New Board
Pre-drill pilot holes to prevent splitting, especially at board ends. Drive screws at an angle (15°) toward the joist center when near board ends to avoid splitting. For hidden fastener systems (Trex Hideaway, Camo clips), follow manufacturer spacing requirements. Drive screws until the head is just flush — not countersunk, which traps moisture.
Step 5: Finish and Seal
For wood decking, apply a penetrating deck sealer or stain to the new board immediately — fresh pressure-treated wood benefits from sealing once the surface is dry (typically 2–3 months after installation, or use KDAT lumber). For composite, no finishing required.
Find all the deck tools and fasteners you need at Pro Tools Hub.